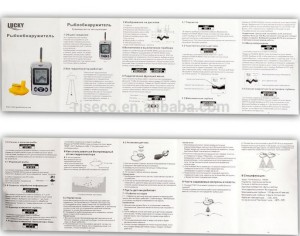
1. Read the manual
May be the user manual have no technical information that you are interested in reading, but it is important to read the manual in order to familiarize yourself with the unit you purchased.

2. Fish finder mount
The manual will be able to walk you through the steps to properly mount your model.
3. Turn on your fish finder
When you turn on the fish finder, you will be able to switch to manual mode and customize the settings to the fishing conditions. To beginm leave the fish finder on automatic and take a five minute spin around the lake, bay or ocean that you fish in.
4. Now start adjusting one feature at a time and become familiar with that feature.
One of the key settings to play around with is the Sensitivity setting. When you adjust the unit’s sensitivity you are adjusting the power of the fish finder. The simple rule of thumb is, the lower the power (sensitivity) the lower the quality of the view on the display. Start by setting the sensitivity to between 75 and 100%. Trial and error will be the best way to determine the optimal setting for your model.
5. The next setting to visit in manual mode, is the Fish ID setting.
Once you have a feel for your unit, turn off the Fish ID feature and try to get used to reading the fish arches that you will see naturally on the screen. The fish icons displayed by the Fish ID are useful for true beginners, but once you begin to familiarize yourself with the display it is better to learn how to read the natural fish arches. The fish arches will give you a more accurate view of what is under water.
6. Another feature, Auto Depth, is best used at its pre-programmed setting as you begin using your fish finder.
Using the pre-programmed setting will tell the unit to automatically track the bottom and is best used when you are new to using sonar. As you become more of an expert, you can manually set the upper and lower limits of the display window. The smaller the display window you set the better the resolution will be. In general, expert anglers eliminate the top few feet of water and stop the scan about ten feet below the true bottom. The display window size will of course vary depending on how deep the water is and what type of fish you are looking to catch. Experiment with the display window size until you are comfortable with both the amount of water you can view and the picture resolution.
7. As you are becoming more and more familiar with your fish finder, you will notice a horizontal line across the screen.
This line is the Depth Cursor and can be moved up or down on the display. When you find some fish, adjust the depth cursor to cut through the fish arches and the unit will tell you exactly how deep those fish are. Now you know exactly how deep to drop your bait.
8. One last feature to touch on in this article is the suppressor setting.
This setting tells the unit how much “back ground” noise to filter out. Eliminating the back ground noise may be helpful, but if your transducer is mounted properly it is generally unnecessary. If you find you have to use the suppressor to locate fish, then you should check that your transducer is mounted correctly. In general you want to have the suppressor off as having the suppressor setting too high can block the sonar signal entirely and you won’t find fish that way!
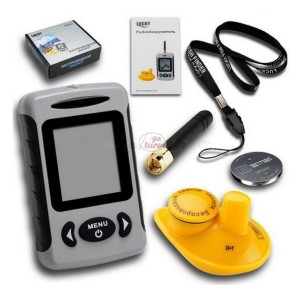
Get one Lucky FFW718 wireless fish finder: http://www.goture.com/lucky-ffw-718-professional-digital-wireless-fish-finder.html.
